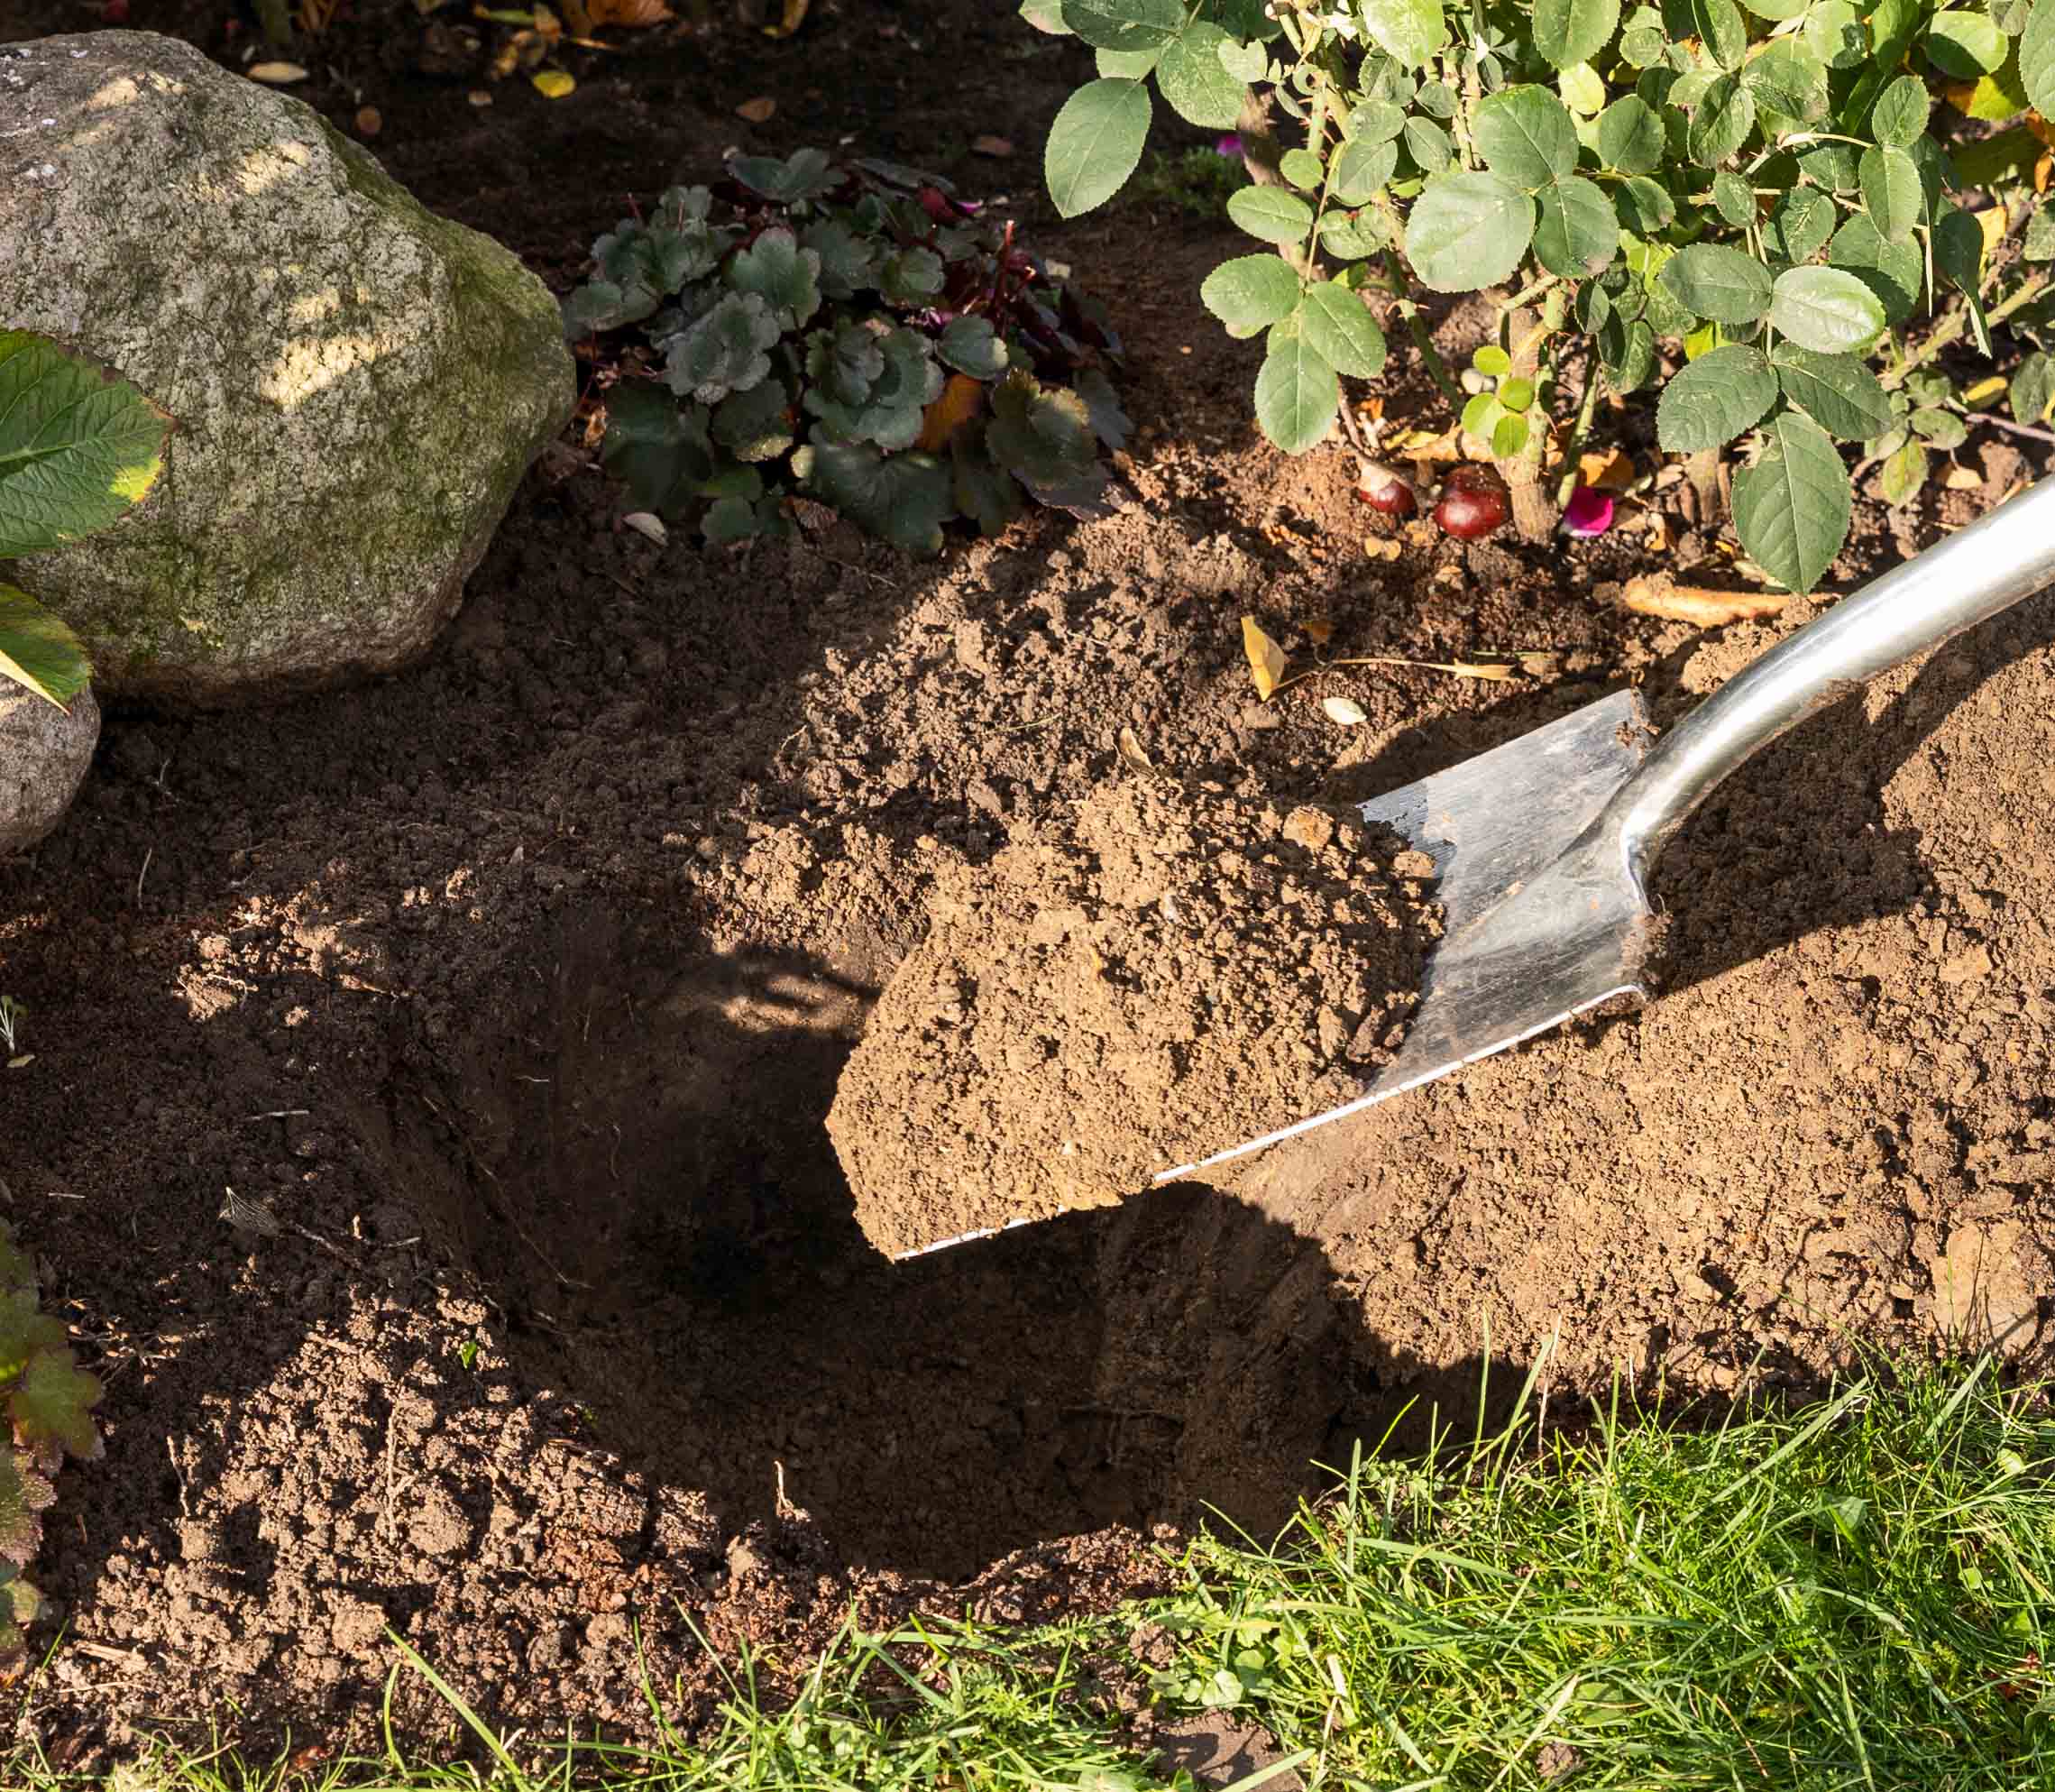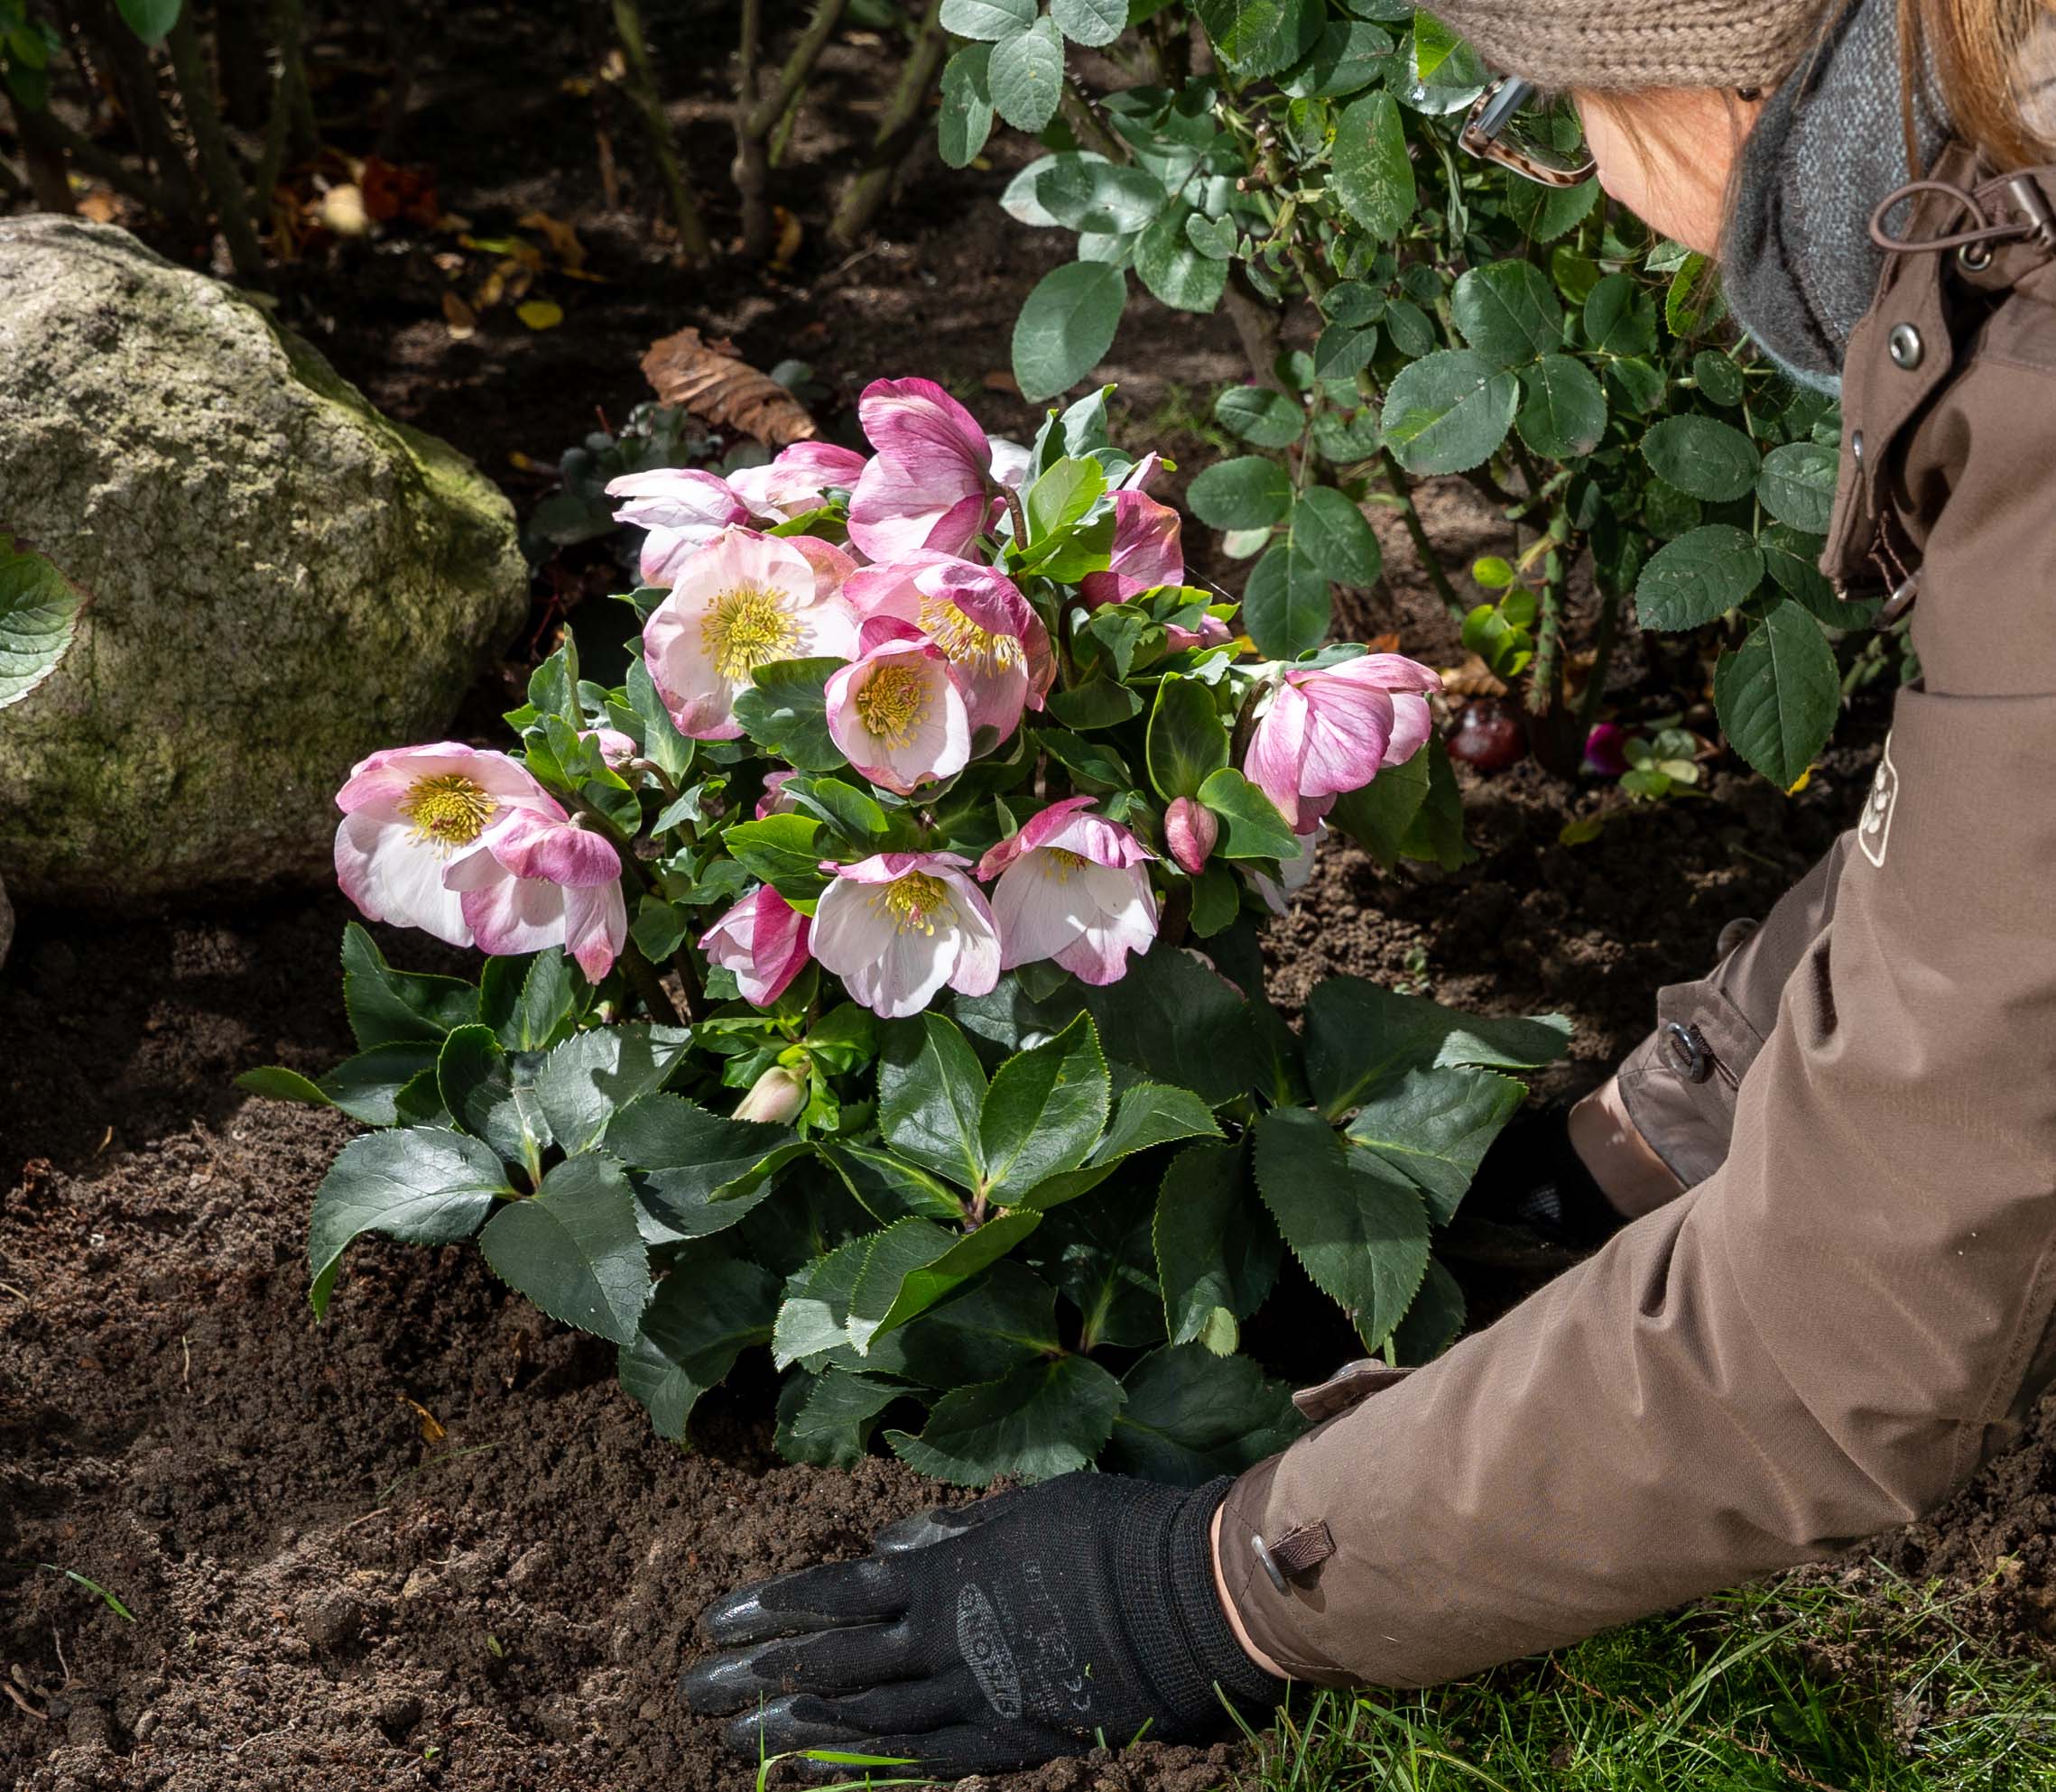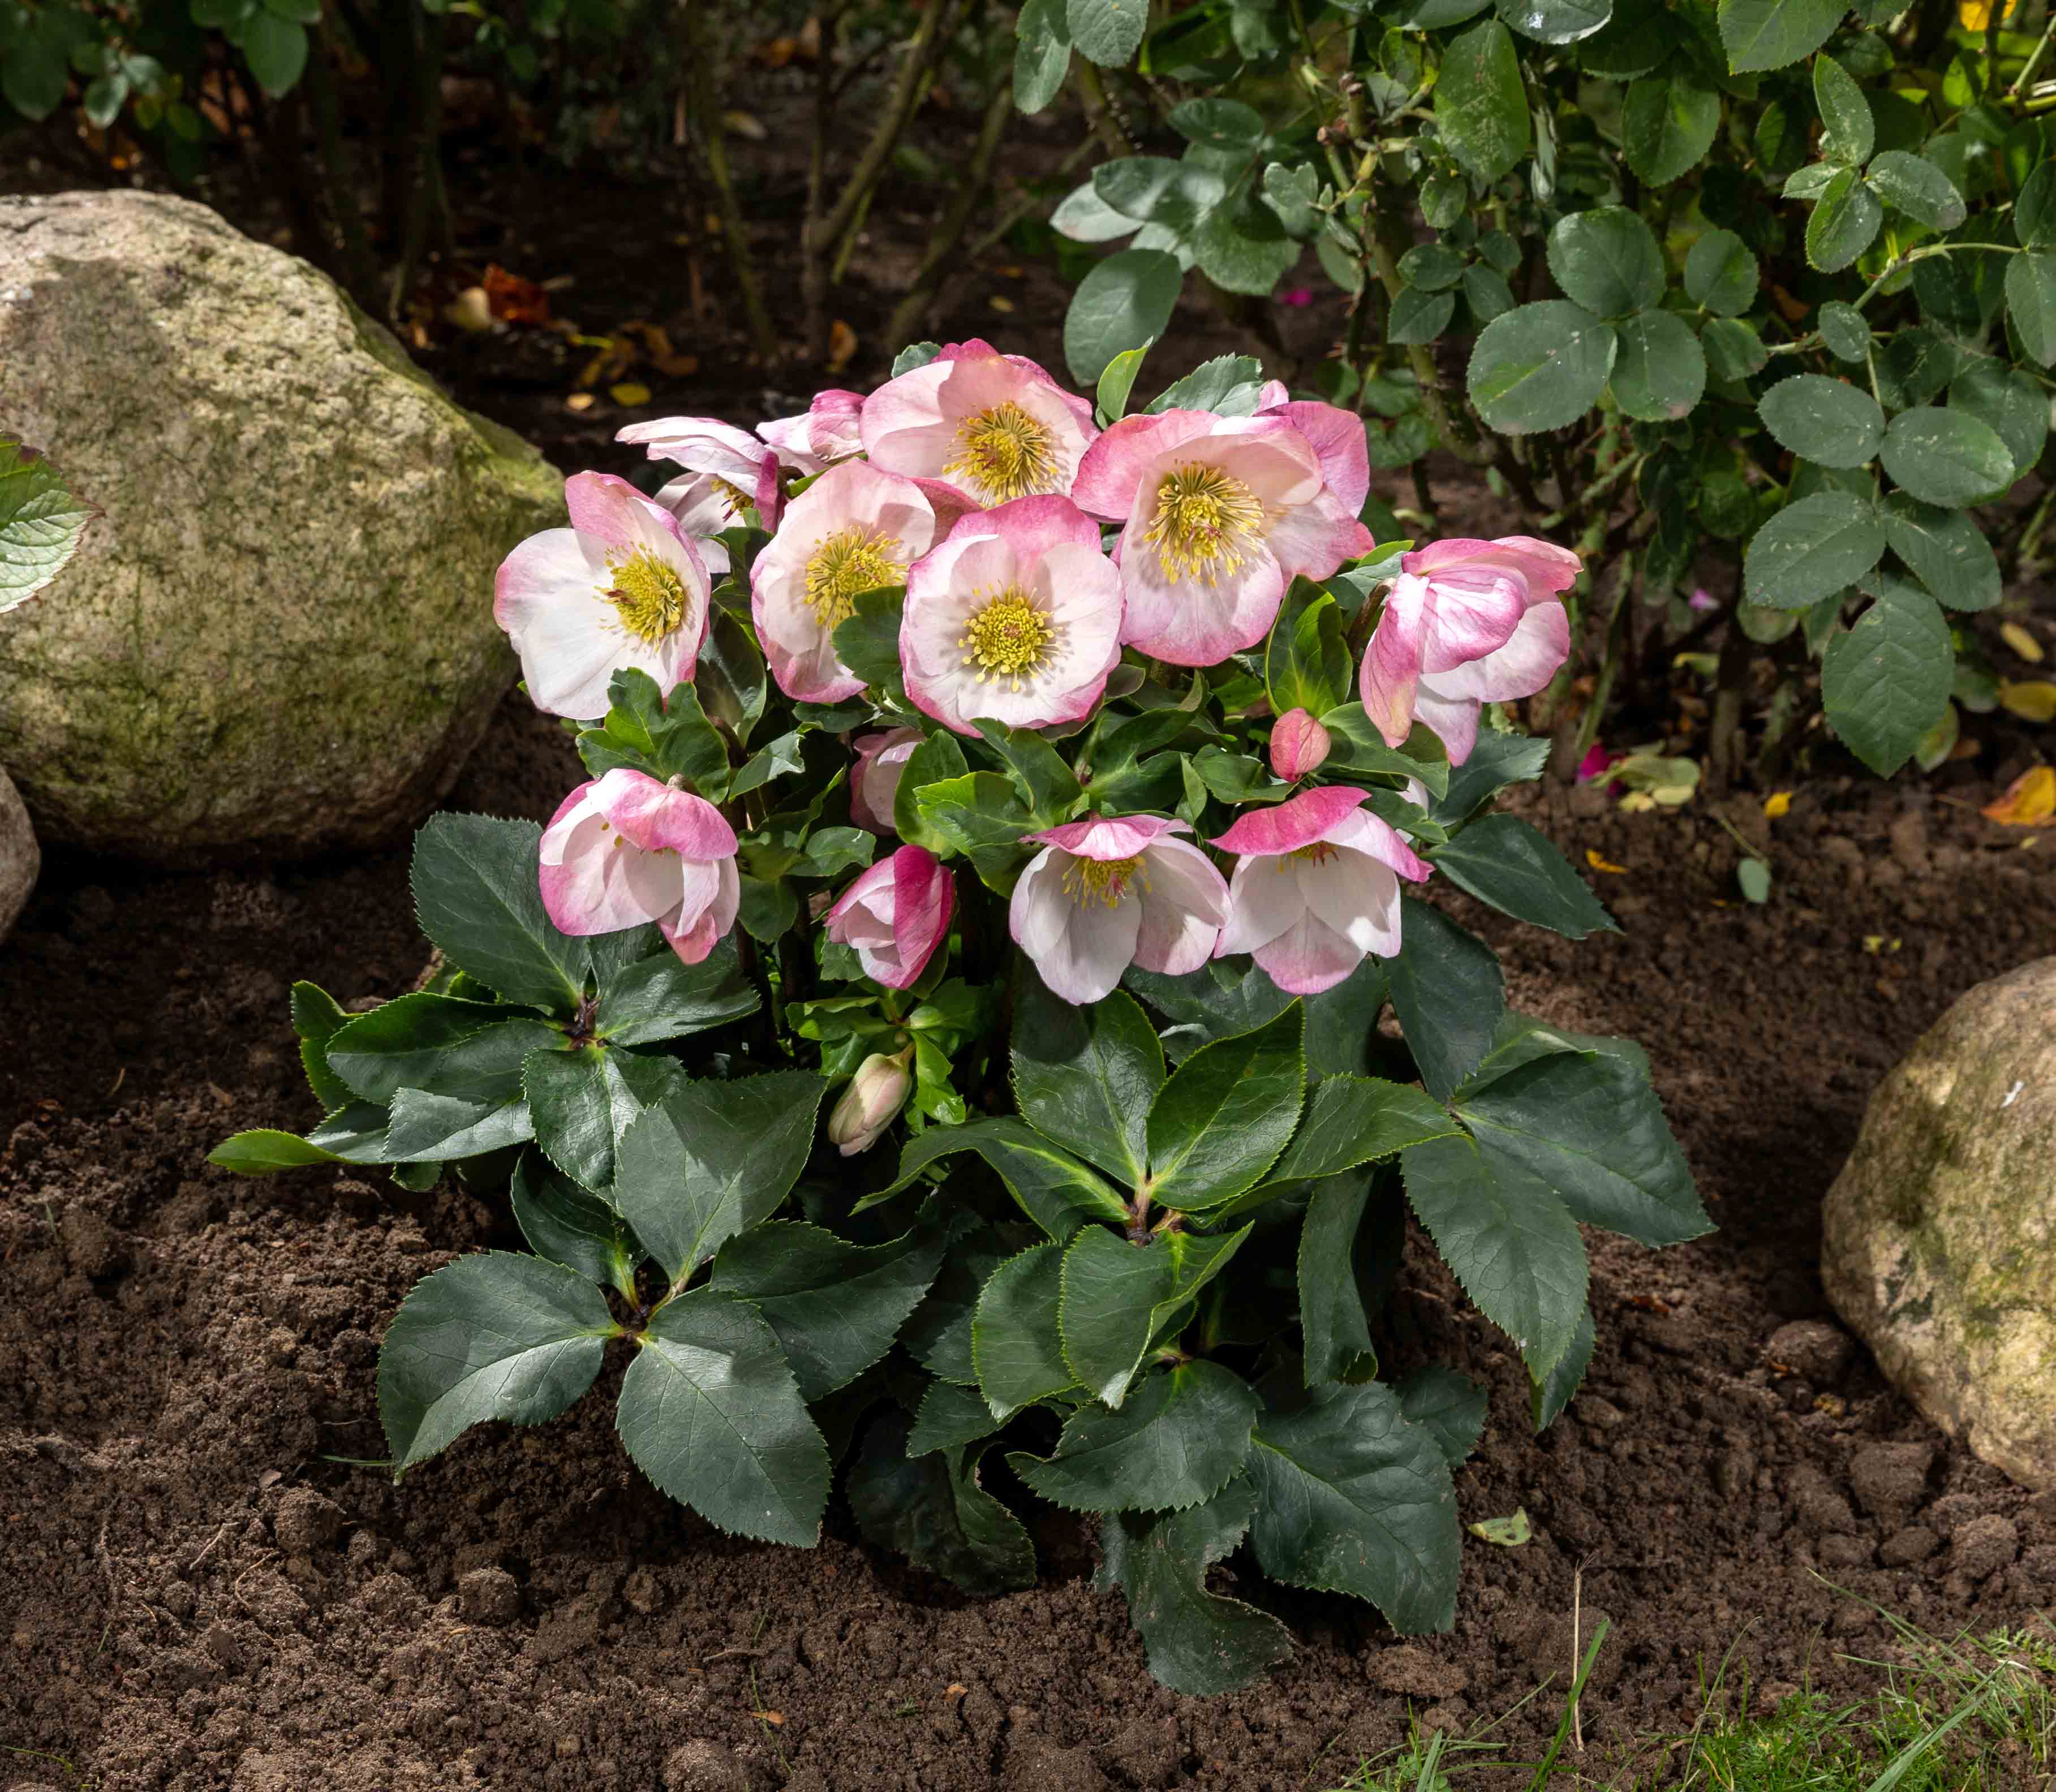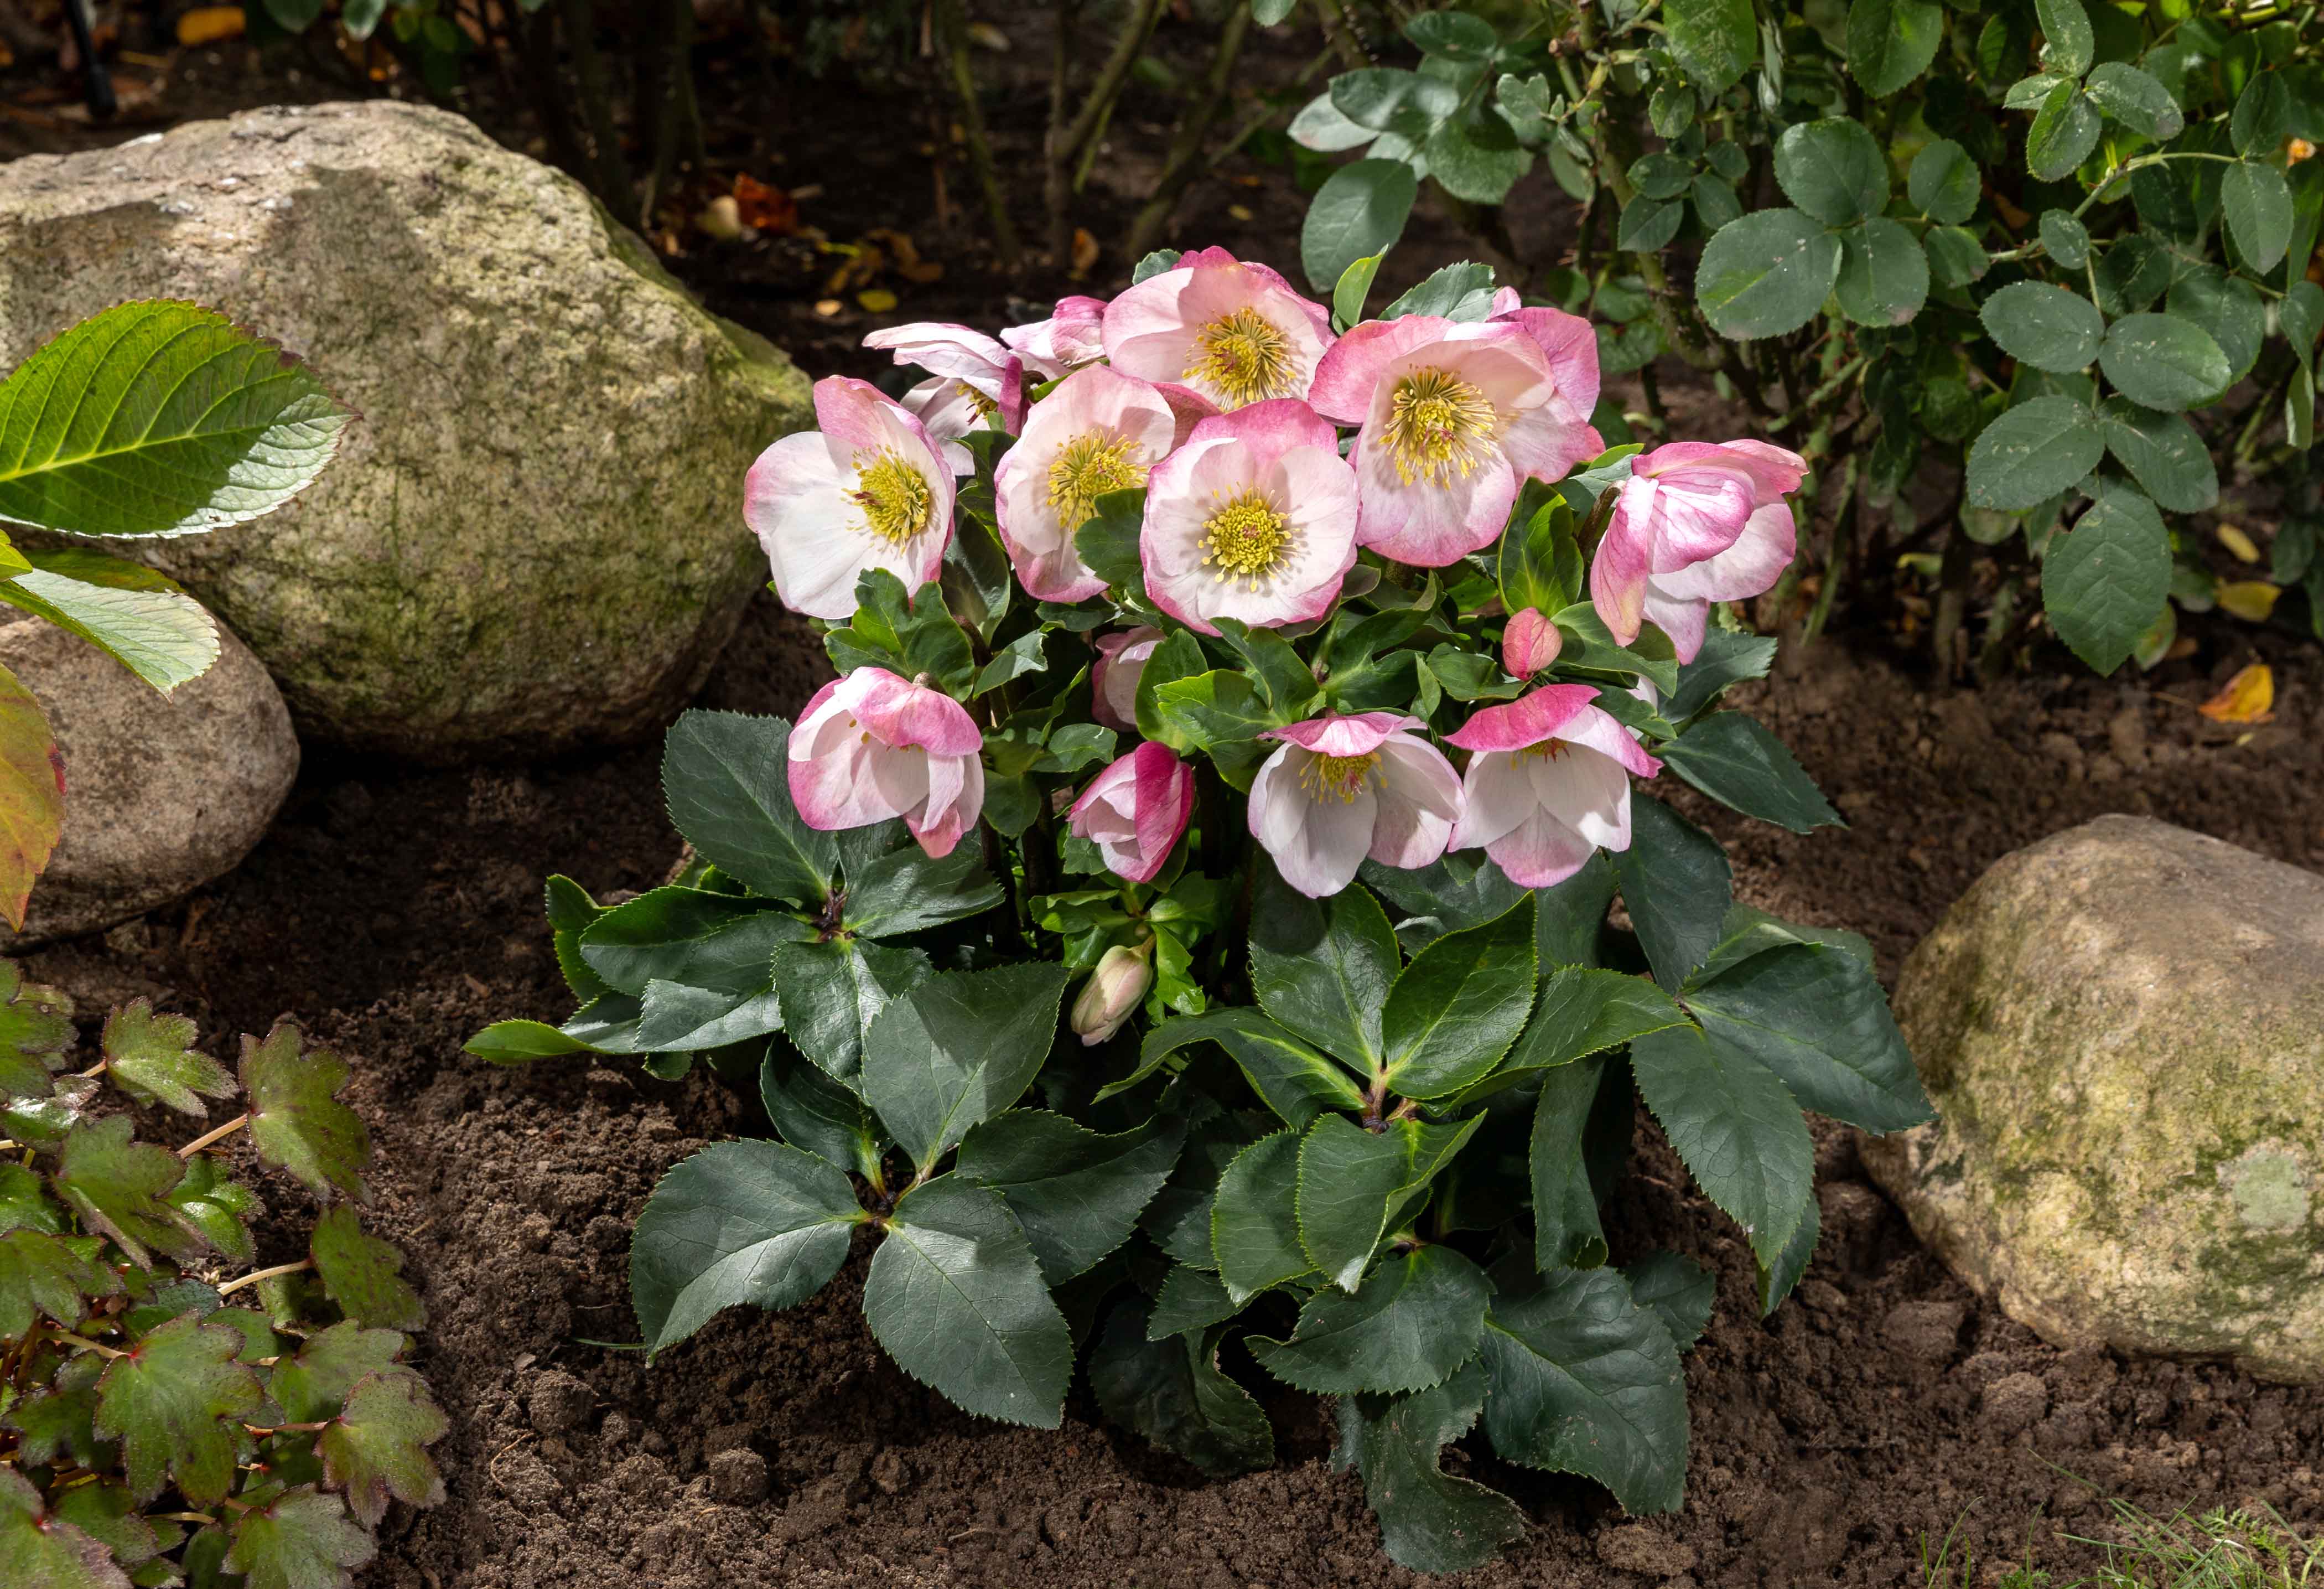
PLANTING WINTER BALLET VARIETIES PROPERLY
September through November is a good time to plant Winter Ballet® varieties when the ground is not frozen.
To plant Winter Ballet® varieties properly, you want to look for a suitable place in the garden first. Just like Christmas Roses and Lenten Roses, Winter Ballet® varieties prefer a spot in light shade.
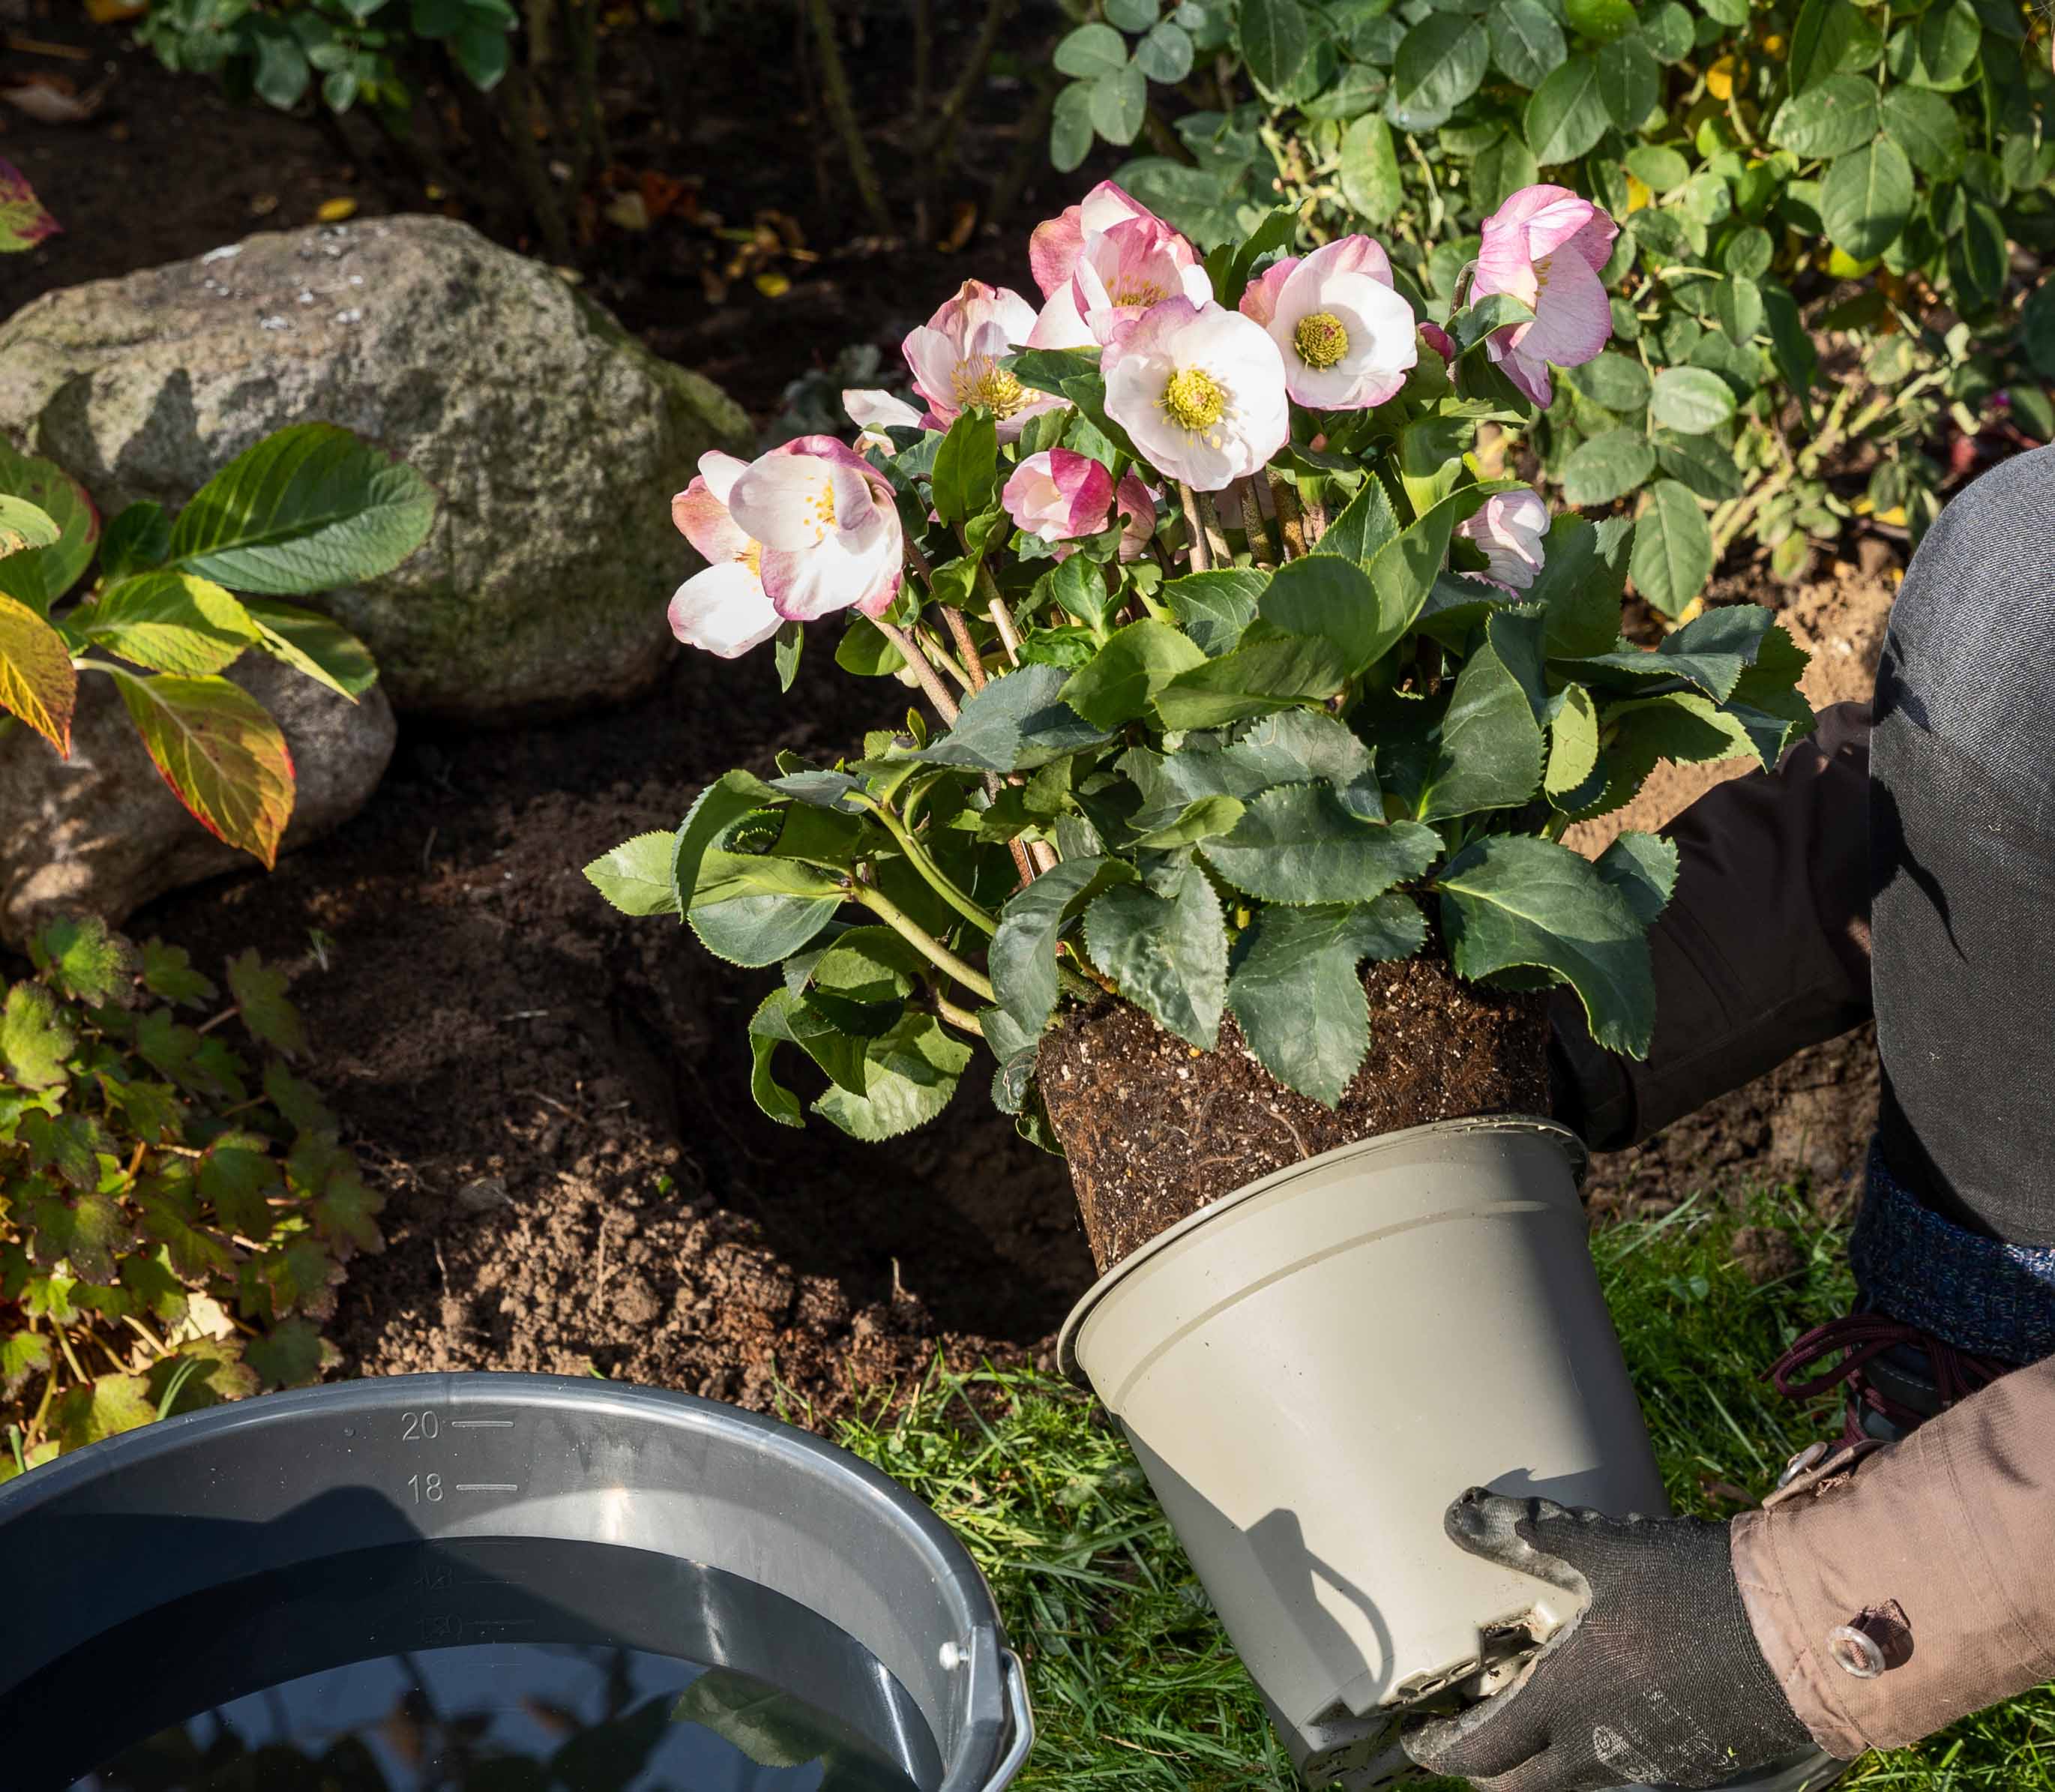
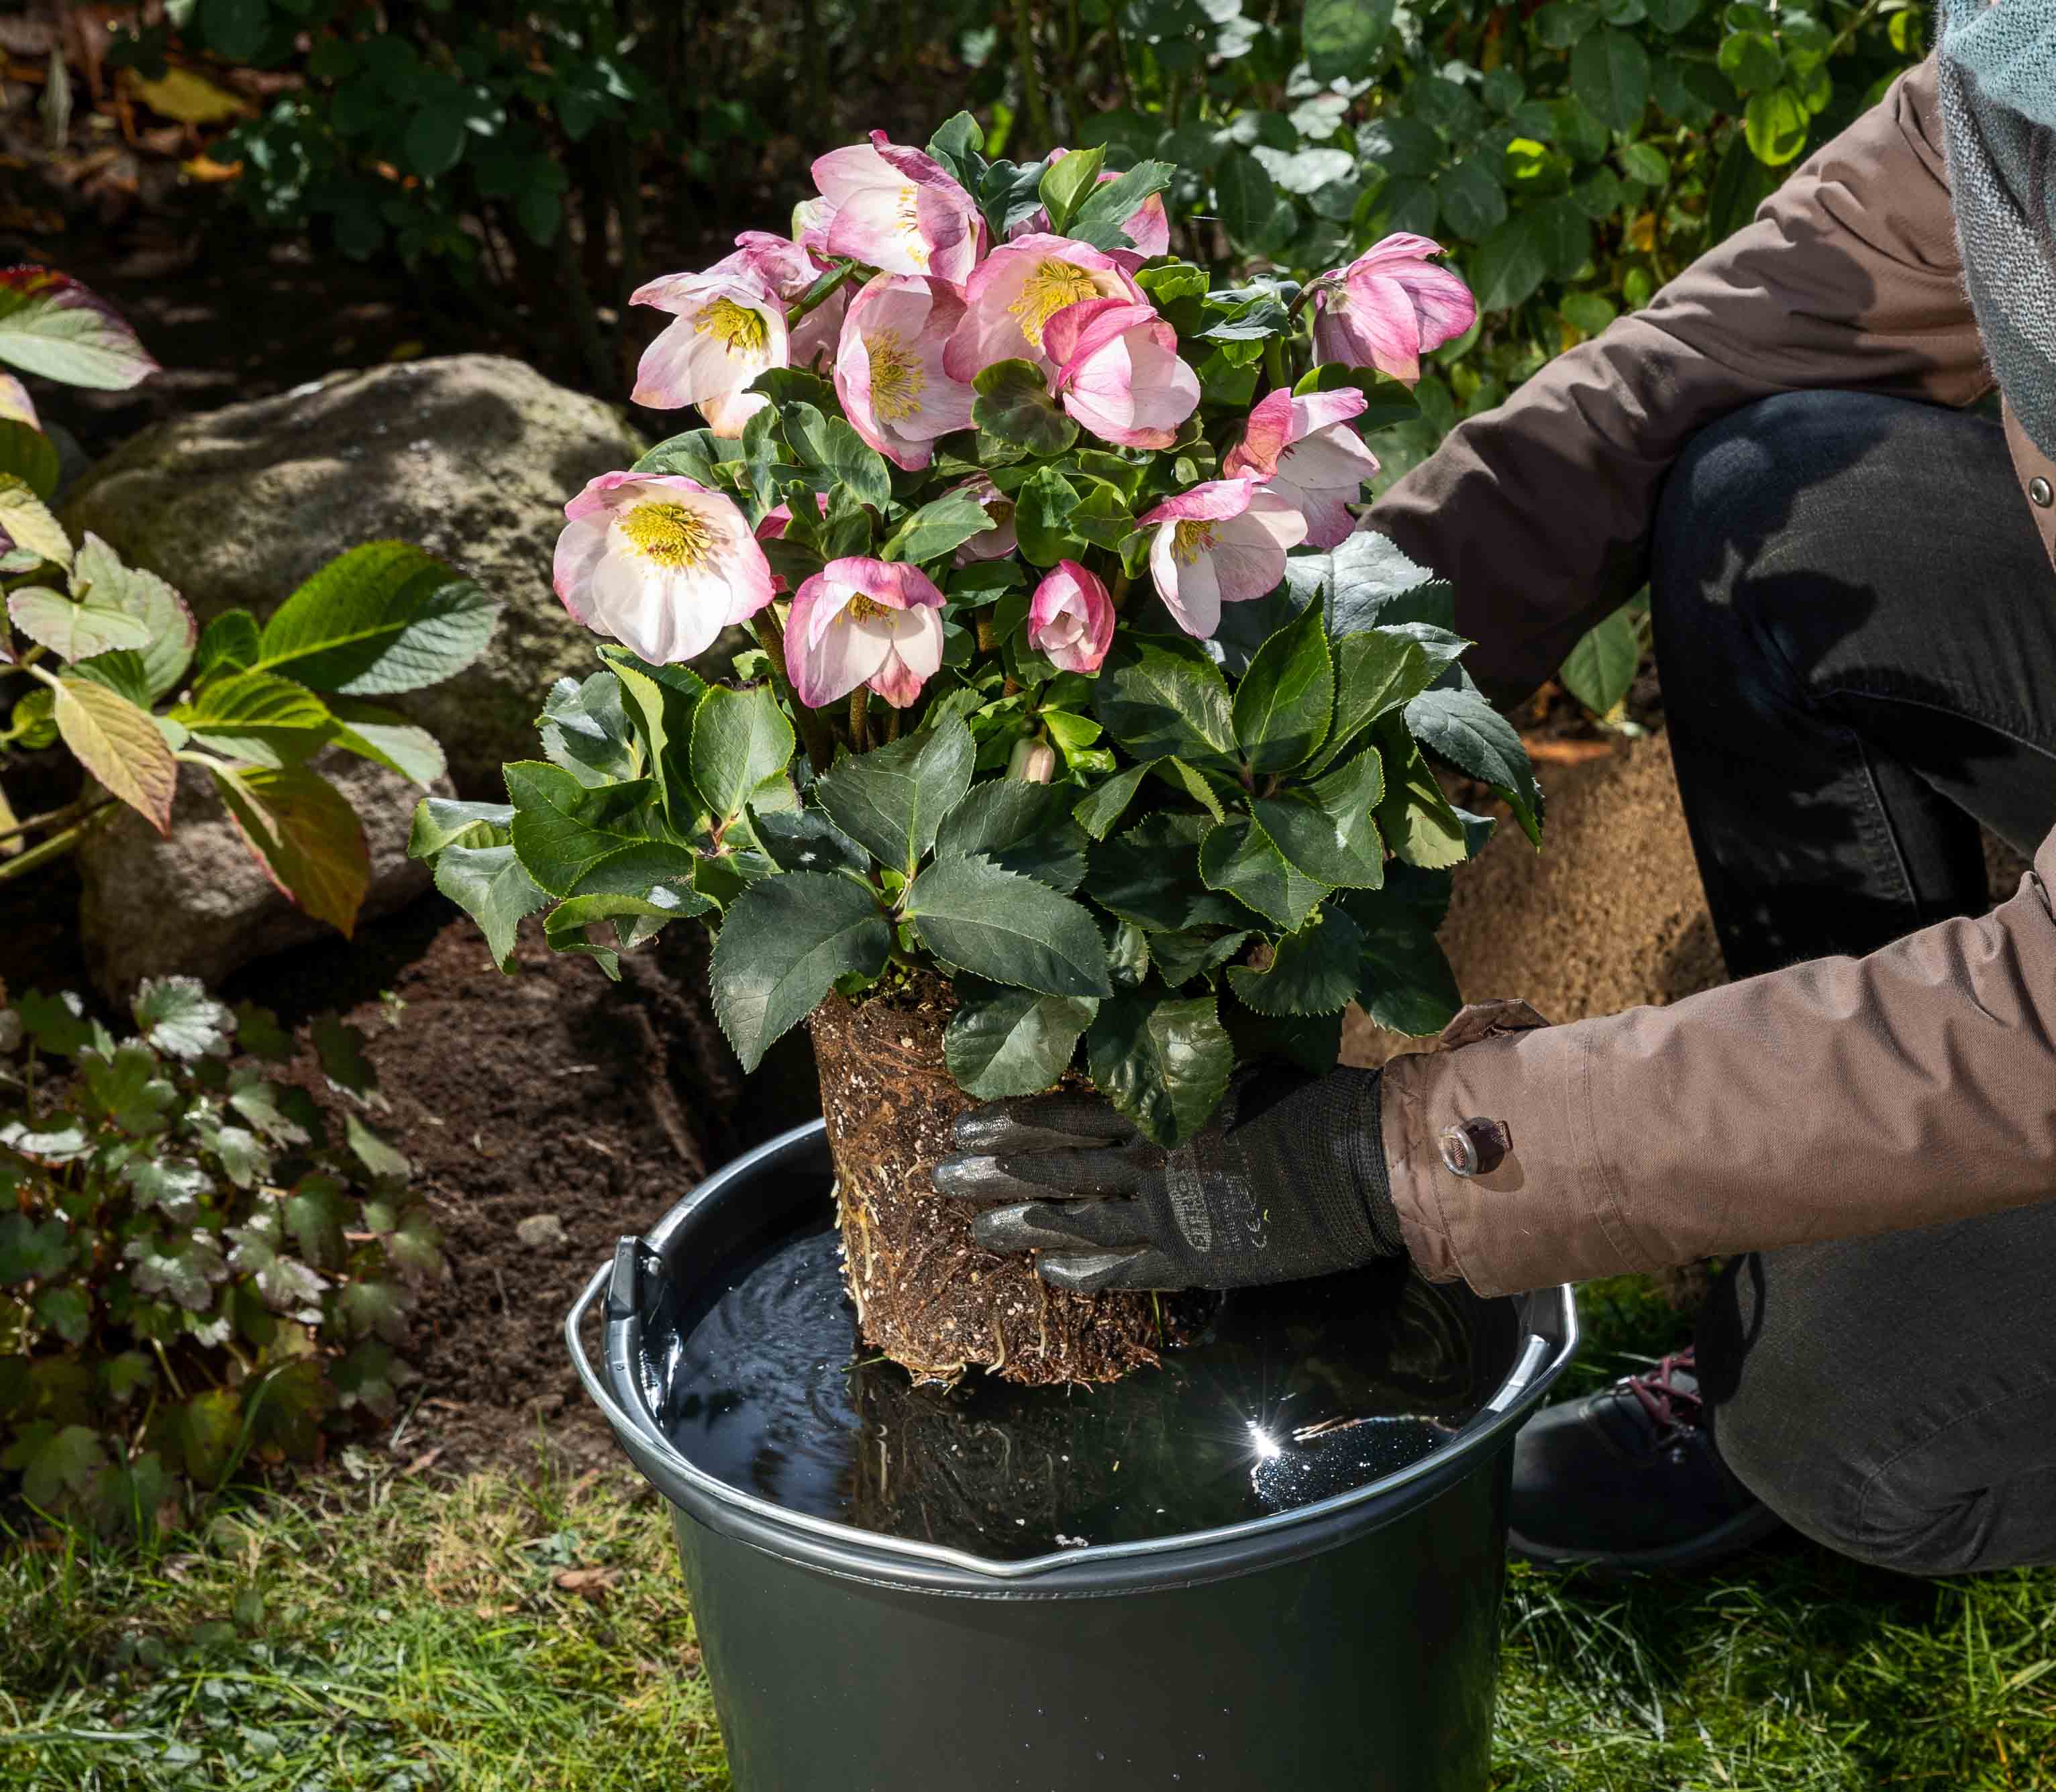
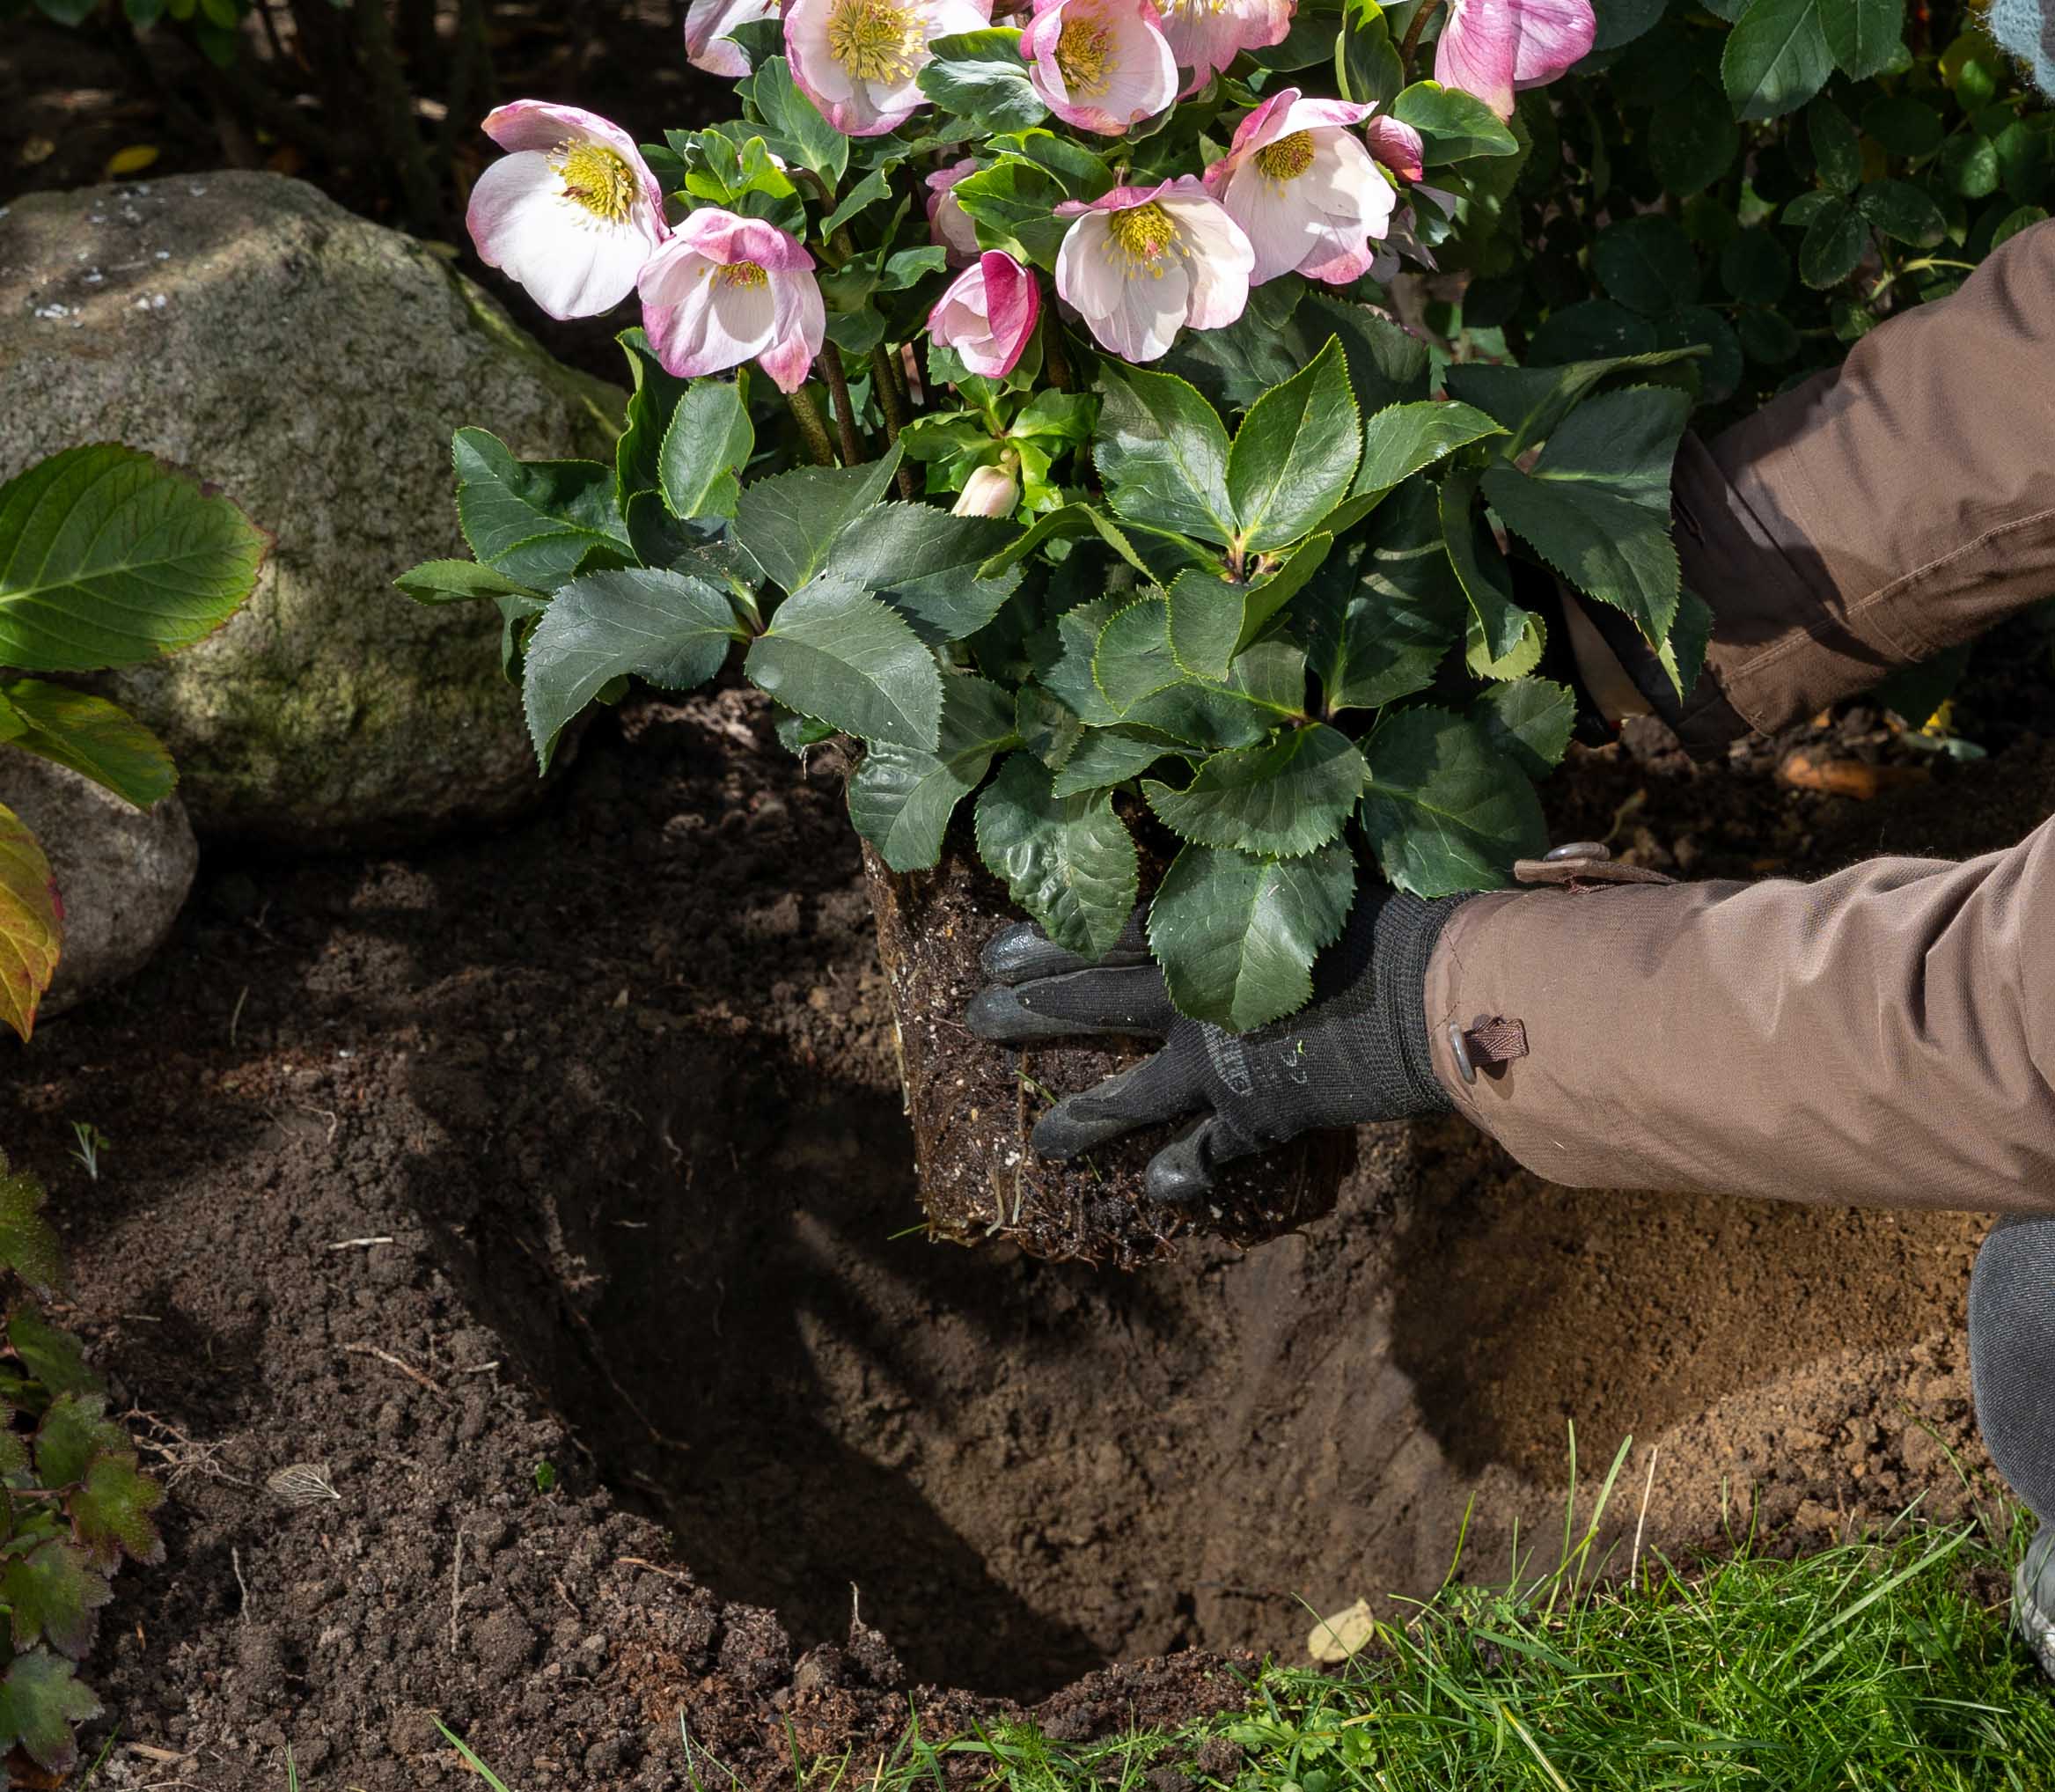
The planting instructions provide you with a step-by-step guide on how to plant Winter Ballet® varieties in the garden. Also, the Uses section offers instructions and ideas on how to plant planters for balconies and terraces and make decorative flower arrangements for the